Maintaining your keyboard is essential to its performance and longevity, whether that means increasing its performance or prolonging its lifespan. A microfiber cloth, disinfectant wipes or cotton swabs dampened with isopropyl alcohol can all be effective tools in removing dust, grime and other contaminants that accumulate over time.
Conduct a deeper cleaning 4-6 times annually to remove hair particles, crumbs, and other debris between keycap surfaces. A keycap puller will come in handy here.
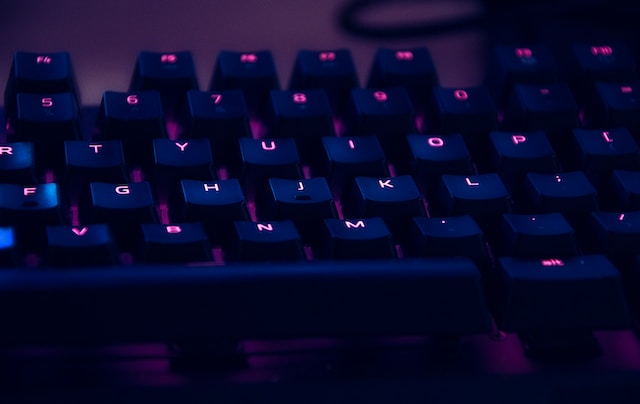
Dust
Dusting your keyboard regularly is essential to keeping it looking its best over time and will also contribute to keeping it in better condition over time. Plus, doing it’s relatively straightforward!
Step one should be to disconnect the keyboard from your computer (if possible) and turn it upside-down, in order to dislodge any loose dirt that might remain. Use compressed air if possible or give the keyboard a quick, light shake if that does not work.
After that, use a dry microfiber cloth to wipe down the surfaces of your keyboard and keycaps. A little dampness is acceptable; just don’t soak the surface or allow water to seep into crevices between keys as that could lead to corrosion. Cotton swabs dipped in isopropyl alcohol or disinfectant can also be helpful; just be sure that they’re not too wet and swap out regularly to maintain optimal performance.
Another effective method for dust removal on keyboards is using sticky notes placed between rows and running them over the surface. Cleaning slime, such as ColorCoral ($5.94 at Amazon – opens in new tab), may also be effective but beware to keep away from ports or delicate areas like ports or any delicate connectors. Furthermore, investing in a cover for your device can reduce dirt accumulation as well as wear-and-tear damage over time.
Soak
As strange as it sounds, submerging keycaps into soapy water is actually an effective way to disinfect a keyboard. Soaking will soften gunky skin layers on keys and allow more gentle cleaning around switches; just be sure that any container used has an airtight lid to avoid spills!
Cotton swabs or sticky notes can also be used to clean between the keys, which may be particularly effective if that space tends to collect more dirt and dust than elsewhere on your keyboard. As with all cleaners, please test in a small area first; some products leave an oily residue behind when used regularly.
At this stage, it’s time to clean off the faceplate and keycaps with isopropyl alcohol-soaked cloths, taking great care not to introduce new debris into the keyboard during this process. Please take particular note of frequently-used keys such as space bar and enter; any liquid leaking onto or into it could damage its internal components and be treated immediately for spills; alternatively you could try cleaning gel on it; though note it may leave an oily residue and require extended soaking times.
Scrub
An effective weekly cleaning regimen involves swiftly clearing away dirt that accumulates between your keys. Crumbs, lint and grease can quickly collect on keyboards and find their way between keys where germs thrive. Alcohol wipes should do just the trick in this regard but there are also disinfectant cleaners on the market which provide comparable solutions.
To properly clean a keyboard, disconnect and turn it upside down so any loose dirt falls out, using compressed air if necessary to clear away additional debris that has lodged itself within. Next, dampen a cotton swab or cloth with some isopropyl (rubbing) alcohol before wiping down its faceplate and keys – taking care not to spill any water inside!
If your keyboard is particularly dirty, soak it for several hours to clear away its grime. To do this, remove keycaps using a wire keycap puller before sealing them in an airtight container with dishwashing liquid or denture tablet for soapy water to create sudsy water for up to an hour before closing it back up again and leaving them to soak again before drying them and wiping down both faceplate and remaining keys – especially around switches!
Polish
Now you can clean your keyboard using a lint-free cloth and isopropyl alcohol (or another mild cleaning agent). Wipe down all surfaces, inspect for dirt and grime accumulation and look out for areas with deep-seated dirt; if necessary use a toothpick to scrape away deep-seated debris.
Polish Keyboard Tip
If your keyboard features the ALTGR key (usually located to the right of the space bar), you can use it to access special Polish characters without downloading a language pack. Holding down this key while pressing letters will turn them into their Polish form; pressing Shift as well will create capital letters.
To change the language Windows uses for menus, tooltips and messages, go to your Windows taskbar and click “Settings” or “Control Panel”, followed by “Region & Language settings”. In this menu select your country/region before the “LANGUAGE” drop-down list is presented – select Polish from there before rebooting and changing over your system – once finished you should see letters begin blinking across your screen as they change!

Amelia Turner is a business and technology writer with a focus on emerging trends and innovative solutions. She specializes in breaking down complex concepts into accessible content that helps readers stay ahead in the ever-evolving tech landscape. Her work covers topics ranging from digital transformation to the latest advancements in business technology.